The Ultimate Guide to Shatteringly Crisp Cantonese Roast Pork Belly Oven vs. Air Fryer
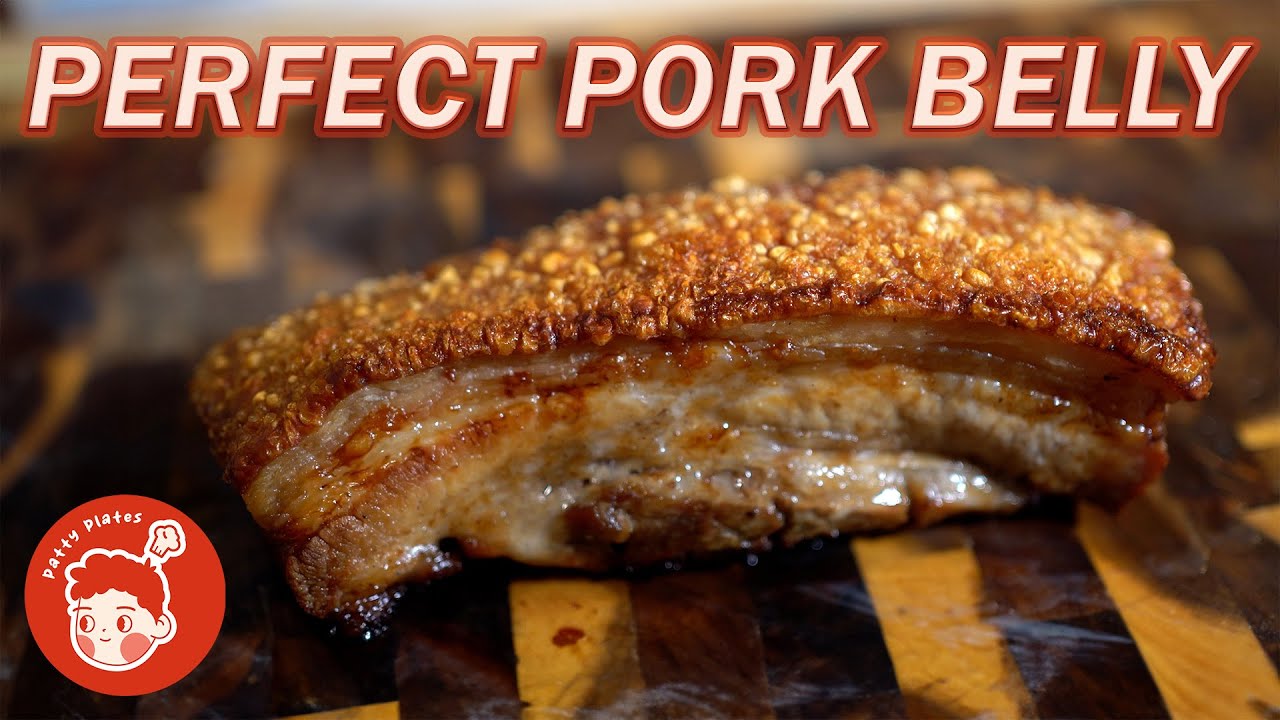
When Cantonese roast pork belly (Siu Yuk) is done right, the skin is shatteringly crisp and puffed to perfection, while the meat beneath remains incredibly juicy, interlaced with layers of luscious pork fat.
For home cook Patty Plates, this dish is deeply nostalgic. "I grew up eating this dish every Lunar New Year," he shares. "I remember helping my mom poke holes in the skin while she prepared loads of other dishes."
Even with a family recipe, mastering the perfect crackling took months of testing and dozens of attempts. The secret to success doesn't actually lie in a high-tech kitchen setup—it all comes down to controlling moisture.
Here is the breakdown of two foolproof methods to achieve the ultimate pork belly at home: the quick air fryer method and a traditional overnight oven recipe.
How to Buy the Perfect Cut: "Five-Layer Meat"
Before you even turn on your appliance, you need to source the right piece of pork.
The Thickness: Look for a slab that is roughly 5 cm (or 2 inches) thick.
The Layering: In Cantonese, the ideal cut is called Ng Fa Yuk, which translates to "five-layer meat." You want an even, distinct layering of lean meat interspersed with clean fat.
The Selection: Try to buy your pork belly from an open meat display case rather than pre-packaged or vacuum-sealed sections. Vacuum sealing traps excess moisture, making it much harder to get a dry, crispy skin. The skin should feel dry to the touch right from the counter.
Method 1: The Quick Air Fryer Trick (Just Over 1 Hour)
If you don't have days to plan ahead, a supercharged convection oven—better known as an air fryer—does a fantastic job of rapidly drying out and crisping up pork skin.
1. Prep and Score
Poke Holes: Using a pointy tool (like heavy-duty Moribashi design chopsticks or a metal skewer), poke a massive amount of holes across the skin. Crucial Tip: Avoid poking all the way into the meat. If you pierce the meat layer, the juices will escape during cooking, bubble up to the surface, and ruin the dry skin you're trying to achieve.
Score the Meat: Flip the slab over and make 2 cm deep cuts into the meat side every 2 cm.
2. Season and Rub
Brush a layer of hoisin sauce and Shaoxing wine onto the meat side only.
Follow with a dry rub consisting of five-spice powder, kosher salt, white pepper, garlic powder, and a touch of sugar. Massage it deeply into the scored cuts.
3. The Salt Crust and Air Fry
Build a Boat: Construct a small aluminum foil boat that tightly hugs the sides of your pork belly, leaving only the top skin completely exposed. This protects the meat from drying out while the skin bakes.
The Acid Hack: Brush a thin layer of rice vinegar or white vinegar over the skin. The acid breaks down and softens the skin so it can puff up more, while neutralizing any overly "porky" aromas.
The Crust: Mix together kosher salt and an egg white to form a sandy paste, then layer it smoothly over the pork skin. The salt pulls away any remaining moisture, while the egg white holds it together so it lifts away in one solid piece later.
Stage One Cook: Air fry at 250°F (120°C) for 30 minutes to gently cook the meat and set the skin.
Stage Two Cook: Remove the pork belly and lift away the hardened salt crust. Preheat the air fryer to 400°F (200°C). Brush a very thin layer of neutral oil over the now-dried skin to maximize heat transfer, and bake for an additional 25 to 30 minutes, checking it every 10 minutes until puffed and crackling.
Rest: Let it rest for 15 minutes before slicing.
Method 2: My Mom's Traditional Oven Recipe (The Overnight Labor of Love)
If you have time to plan ahead, the traditional oven method yields a deeply flavored meat and an earth-shatteringly crisp crust that is tough to beat.
1. Blanch and Shock
Bring a pot of water to a boil and submerge the pork belly for 5 to 8 minutes. Blanching purifies the meat, washes away undesirable surface gameoness, and softens the skin, making it drastically easier to prick.
Immediately plunge the slab into ice water for 5 minutes to halt the cooking process.
Use a knife or scraper to clean off any remaining hairs or surface gunk from the skin, then pat completely dry with paper towels.
2. Season and Age
Poke your pattern of holes into the blanched skin and score the meat side, following the exact same rules as the air fryer method. Apply your hoisin, Shaoxing wine, and five-spice dry rub to the meat side.
Wrap the sides in a foil basket, brush the skin with a tablespoon or two of vinegar, and place it in the fridge uncovered overnight for at least 8 hours (you can leave it for up to 2 or 3 days). The dry, cool air of the refrigerator completely dehydrates the skin until it is hard to the touch.
3. The Oven Roast
Preheat your oven to 375°F (190°C). Apply the same egg white and salt paste mixture over the top of the skin.
Roast for 25 to 35 minutes depending on the thickness of your cut to cook the pork through.
Remove the salt crust, brush with a touch of neutral oil, and crank the oven to 450°F (225°C)—if your oven has a convection fan setting, turn it on now.
Bake for about 30 minutes, keeping a close eye on it every 10 minutes, until the skin blisters all over into a golden, crackly armor.
Rest: Let it rest for a full 20 minutes before cutting into it to lock in the juices.
Oven vs. Air Fryer: The Verdict
FeatureAir Fryer MethodTraditional Oven MethodTime Commit~1 Hour (No prep required)12 to 24+ Hours (Requires overnight drying)Skin TextureCrispy, but lacks maximum blisteringEarth-shatteringly crisp, uniform blistersMeat FlavorMildly seasoned; retains some rustic pork flavorDeeply marinated, incredibly clean and bold finish
Ultimately, the cooking vessel matters far less than how well you manage moisture. By properly pricking the skin, drawing out surface water with salt and vinegar, and rendering the fat underneath, you can achieve an incredible restaurant-style Cantonese roast pork belly right in your own kitchen.