Master the Sphere The Ultimate DJI Avata 360 Setup and Best Settings Guide
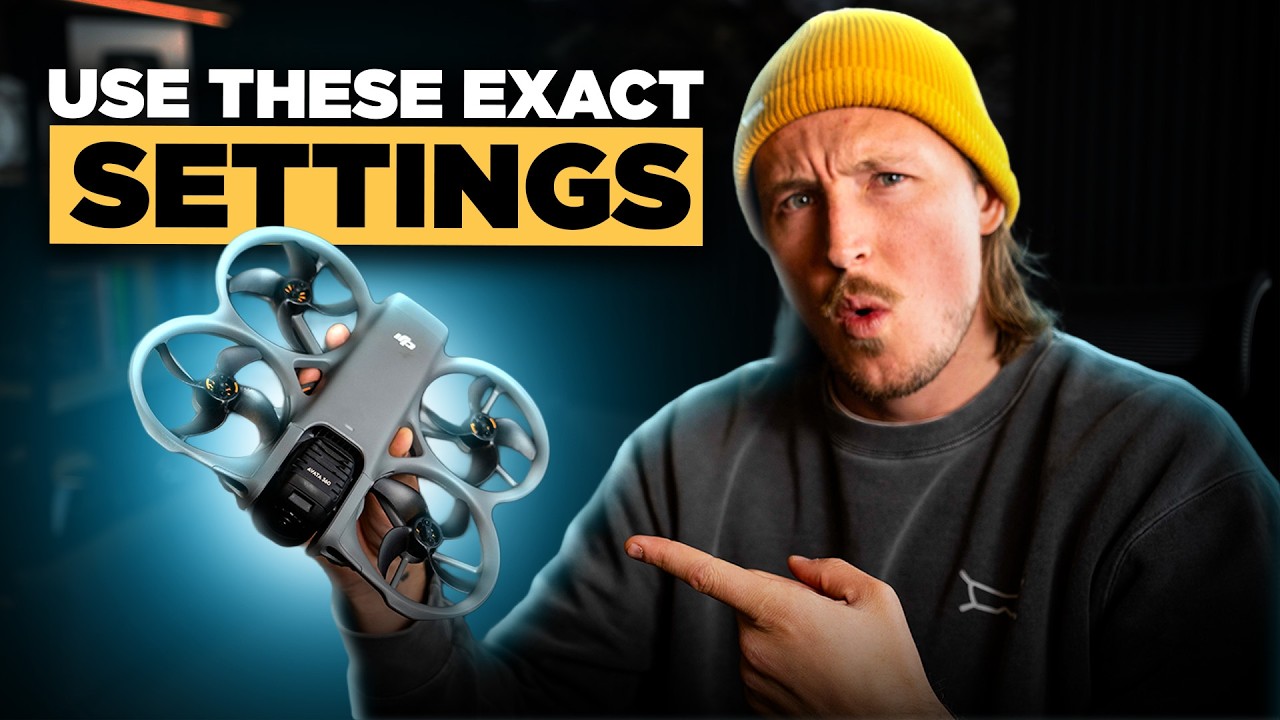
The DJI Avata 360 has officially landed, and it is easily one of the most anticipated drone releases in the history of remote flight. The ability to capture an entire panoramic horizon while maintaining tactical control is an absolute game-changer for content creators.
However, getting cinematic footage out of this powerhouse isn't as simple as charging the batteries and pressing record. Smaller action sensors are prone to factory oversharpening, and dynamic light transitions require specific pacing parameters. Whether you are setting up your control link on a laptop or navigating directly through your immersive headwear interface, these baseline setting changes will completely rewrite your image output.
Step 1: Out of the Box Activation
When you first unlock the drone and power up your control platform, you have to run through a quick digital checklist:
Connect your flight rig to your smartphone or built-in interface monitor.
Run the hardware activation sequence via the primary flight application.
Log directly into your official DJI profile account to unlock the global satellite flight mesh.
Hit "Go Fly" on the home screen to access the main layout parameters.
Step 2: Safety Overhauls and Elevation Unlocks
Before you spin up the props, navigate to the top-right corner of the page and tap the three-dot icon to enter the system configuration screen.
The factory defaults feature a strict Max Altitude limit of 120 meters. While legal ceilings in many regions rest around 400 feet above the ground, an automated factory limit fails to recognize real-world terrain changes like mountain passes or vertical valleys. If you launch at the base of a peak, a locked 120-meter limit will stop you from climbing the ridge line.
The Fix: Puncturing this threshold requires accepting a localized safety prompt. Raise your max altitude parameter completely to 500 meters. This ensures your sensor can track steep alpine topography smoothly without hitting an artificial digital ceiling. Always cross-check your local tracking regulations to ensure compliance.
Step 3: Gain and Expo Tuning: Smooth Out the Virtual Axis
Because the Avata 360 captures a continuous spherical field, it does not rely on a traditional mechanical gimbal axis to tilt the camera up and down. Instead, it uses a complex, digital virtual tilt system.
If you leave the factory parameters untouched and switch your flight mode into Sport Mode, the virtual camera look-axis defaults to a sensitivity speed of 6—which makes the vertical tracking move far too quickly, creating jarring frame adjustments in your edit.
[Factory Sport Mode: Tilt Speed 6] ➔ Fast, Aggressive Look Adjustments (Choppy POV)
[Danny McGee Spec: Tilt Speed 10] ➔ Fluid, Cinematic Virtual Tilt (Immaculate Transitions)
Navigate straight to the Gain and Expo Tuning menu under the Control tab. Scroll down to the Tilt Smoothness slider and lock it in at a value of 10. This dampens the rapid focal shifts, transforming jerky point-of-view cuts into a seamless, cinematic pan.
Step 4: The 10-Bit Cinematic Canvas: Colors and Guides
To maximize the true capability of the dual 1-inch optics, switch your camera module over from "Auto" to "Pro Mode" in the lower-right section of the control page.
The Color Canvas: Lock In D-Log M
Ditch the oversaturated, contrast-heavy look of the standard profile. Switch your color framework to D-Log M and turn off the internal display assist. This profile records a flat, desaturated 10-bit image that retains an incredible range of shadow detail and highlight retention.
If you are a solo creator who doesn't plan on color grading in post, stick to the standard profile to preserve instant saturation. But if you intend to apply cinematic filters or LUTs later at your editing desk, D-Log M is your absolute gold standard.
[Pro Mode] ➔ [Color] ➔ Select [D-Log M] ➔ Toggle [Color Display Assist: ON]
Pro Tip: Turn Color Display Assist ON inside your goggles. This pushes a vibrant, faux-saturated image stream straight to your eyes so you aren't flying through a depressing, washed-out grey landscape, while the card itself records the raw, unedited log files.
Sharpness Reduction
The absolute secret to achieving a high-end documentary look on a small sensor lies in the Style Tab. Factory presets intentionally crank up the digital edge-sharpening to make the raw video look crisp on a smartphone screen, resulting in an artificial appearance. You can add sharpness during post-production, but you can never remove digital noise once it is baked into the file.
Sharpness Spec: Drop this value down as far as possible to -2.
Noise Reduction: Lock this baseline value at 0. This produces a smooth, organic image structure that looks cleaner and handles compression vastly better on digital platforms.
Step 5: Master Exposure: The Rule of Manual Locks
The Avata 360 is unique because it handles global light metering better than almost any craft on the market. Because it tracks an entire sphere, manually adjusting settings means your exposure could be perfect for the ground, but completely blow out the sky once your orientation changes.
Because of this, shooting on Auto Exposure is actually the preferred method for most dynamic outdoor sequences. However, there are technical environments where letting the camera make choices can completely ruin a shot.
The Tunnel Override Strategy
If you are planning an aggressive line that carries your craft from bright daylight directly through a dark mountain tunnel or an open rock cave, an active Auto sensor will try to compensate for the dark cave mid-run, instantly blasting your image with a harsh, laggy flash of digital exposure once you emerge back into the sun.
[Direct Sunlight Approach] ➔ [Lock Exposure] ➔ [Cave / Tunnel Penetration] ➔ [Smooth Daylight Exit]
To capture this cleanly, line up your approach in the open sunlight under the Auto profile. Once the camera balances the horizon, toggle the Auto function OFF to lock down your shutter speed and ISO values. This ensures a uniform exposure level through the darkness of the cave, preventing the camera from making erratic adjustments as you punch out into the daylight. Keep your ISO locked as low as humanly possible to minimize low-light grain.
Step 6: Photos and Framing Frameworks
When switching the rig over to high-resolution photography, two small parameters require immediate attention:
File Configuration: Toggle your storage selection from JPEG to JPEG + RAW. RAW capture stores massive digital data blocks, letting you rescue overexposed skies or deeply shadowed foregrounds during your post-production editing workflow.
Resolution Spec: Drop your file layout to 120 Megapixels. While a 120MP shot requires a brief one-second loading buffer on the card before you can click the shutter again, the incredible detail it preserves across the frame makes the slight processing pause entirely worth it.
The Final Verdict: Commit to the Settings, Earn the Line
The DJI Avata 360 is a masterfully engineered aerial tool, but its potential is completely dictated by the parameters you lock in before you take off. Ditch the basic factory options, take control of your sharpness metrics, and commit to shooting in a flat color profile.
Life moves way too fast to capture it with compressed settings. Lock in your new technical spec sheet, trust your gear, and go find your own horizon. The sky is waiting.